Showing posts with label home decor. Show all posts

Saturday, May 30, 2015

Little Man Quilt

I recently finished a quilt for our second boy on the way! I really love Luke's blue and gray quilt so I modeled this one after it. Except in red and gray to keep with their room colors. Also side story.. I realized Luke's birthstone is blue sapphire and so is his quilt, baby-boy-number-two is due in July (he better not wait til August to arrive!) and his birthstone will be ruby and his quilt is red! I mean come on! How perfect is that?? Now I know God has much bigger things to orchestrate, but I definitely have to credit Him for knowing my OCD and sentimental self!


Finish size of this quilt is 36" x 45" and the squares are 6-inchers. Sewing down the ric-rac was the trickiest part for me, they're slightly crooked--next time I'll use more pins to keep it from slipping about. After purchasing the polka dot print for the backing I realized buying yards of each print was going to be slightly excessive. So after that I toned down my shopping zeal and purchased a couple half yards and mostly fat quarters for this project. Leftover squares were stripped down for the binding. Oh! And I actually machine quilted this one!! Simple stitch in the ditch, but it felt good!!


Getting more and more excited and anxious to meet this little guy! Let me tell you, he's busy busy busy already. Hoping for a few calm moments of snuggling with him and this quilt though! This is the first quilt I feel proud of creating. I feel like I'm starting to know what I am doing, sewing straighter seams, planning out design more, etc. Its been just over a year since I finished my first quilt and this is my seventh one! So I guess its about time I start showing some skills and confidence :) Big BIG thank you to all my friends and family who remain so enthusiastic and encouraging of my creations. You're really the best!


Wednesday, April 22, 2015

Easy Fleece Throws

Well, I really took the break from large scale projects to the extreme! My recent completions are simply single cuts of double sided fleece with edges sewn over. So easy, a great instant update and preparation for baby! The hardest part was getting a finish photo. Cody grabbed the striped throw faster than I could unplug the sewing machine. Luke spent the next morning rolling and burying his face into it. I had to roll a bouncy ball down the hallway to get a photo without him! 


The baseball print is for Boy #2 and is a one yard cut of fleece, I got about 3/4 of the edges sewn before realizing the straight stitch may not stand up to wear and washing over the long term, but that's an easy one to fix if it becomes a problem! Luke has a similar blanket but in football print which is 'his' blanket. It's actually from our church's white elephant night, haha! The thing goes everywhere with him! 


I switched over to a stretch zig-zag stitch for the striped throw (a two yard cut), although again I should have lengthened the stitch. Oh well. Obviously it hasn't effected its popularity in our home! A little more on the how-to part: even out the cut of the fabric and fold over/sew the opposite ends first. Then work your way down the other two sides pinning and sewing to give the corners a finished look. And that's it! It really doesn't get any easier than that to sew a blanket.


Tuesday, March 31, 2015

Shared Nursery Plans

In case you haven't heard, our second little lovebug is a BOY! I'm going to be seriously out-manned here at home, but I am very excited to train up two loving momma's boys! Haha! My aunt was so sweet to quickly tell me I have retained my status as Queen of the House. Love that thought! Cody is of course elated (although he was softening to the idea of having a daugher!) and he is especially looking forward to more football, dirtbikes, and just plain dirt.

We are planning to remodel our bedroom (add insulation, replace window, revamp closet organization, new ceiling fan, etc.) and give it to the boys. Its about two feet wider and with cribs, toys, and everything else these little bodies require it will help tremendously!! Luke's room now is all re-done, so we'll end up with a remodeled room ourselves! Woo hoo! Now that I am 24 weeks, the anxiousness is setting in to start demo and get going in there. We all still love the colors and furniture in Luke's current room, so I'll just be adding to it for the boys room, or as I am calling it The Jr. Man Cave! 

Things that are catching my eye...

Baby Boy Blanket Nursery Decor Photography Prop by theredpistachio
                  (Found here)Take a look at this Black & White 'Boy Cave' Plaque by Collins on #zulily today!


Dirt Bike Pillow  Applique Accent Cushion  Dirt by kmariemarsh 


I also have a few things I never got to for Luke's room that I want to make sure to do this time around. Primarily, framing Cody's All-Star football jersey and doing some large prints of Cody and both Grandpa's on dirtbike adventures. And with that I'll end with "Braaaaaap" ;)


Saturday, August 30, 2014

DIY Coat Rack and Halfway Projects

I feel like I have twenty projects started but nothing quite finished! Please tell me I'm not the only distracted DIY-er. We've been really busy over here, and its been a lot of fun but ready to tie a few of these things up! We finally settled on a paint color for our family room & hallway (the latter still needs to be painted). We chose Edgecomb Gray by BM and continued Popcorn White by MS for trimwork (Luke's room & bathroom also sport this color). Square footage wise over half our house is newly painted, two years later,  but still very much enjoyed! We still need to paint the hallway (but at least the color is chosen!), our bedroom and the kitchen. 
Flip-flopping on colors continues for the kitchen and our bedroom. But we'll get there. The first two photos are before painting, the third shows our subtle but refreshing new wall color!


Family room painting all started with a new lamp shade. I've been feeling an urge to go more into the blue tones in this room, so I started with replacing our very red & yellow lampshade. Hidden and hoarded pillow covers came out of the closet and then I was ready to make a paint color commitment! I've also had a few of those crown molding style picture shelves in hiding, and I am playing with arrangement for that big wall. In addition, I'm painting our picture frames white. 


LOVING the blues. 
But oh yeah, here's the coat rack. 


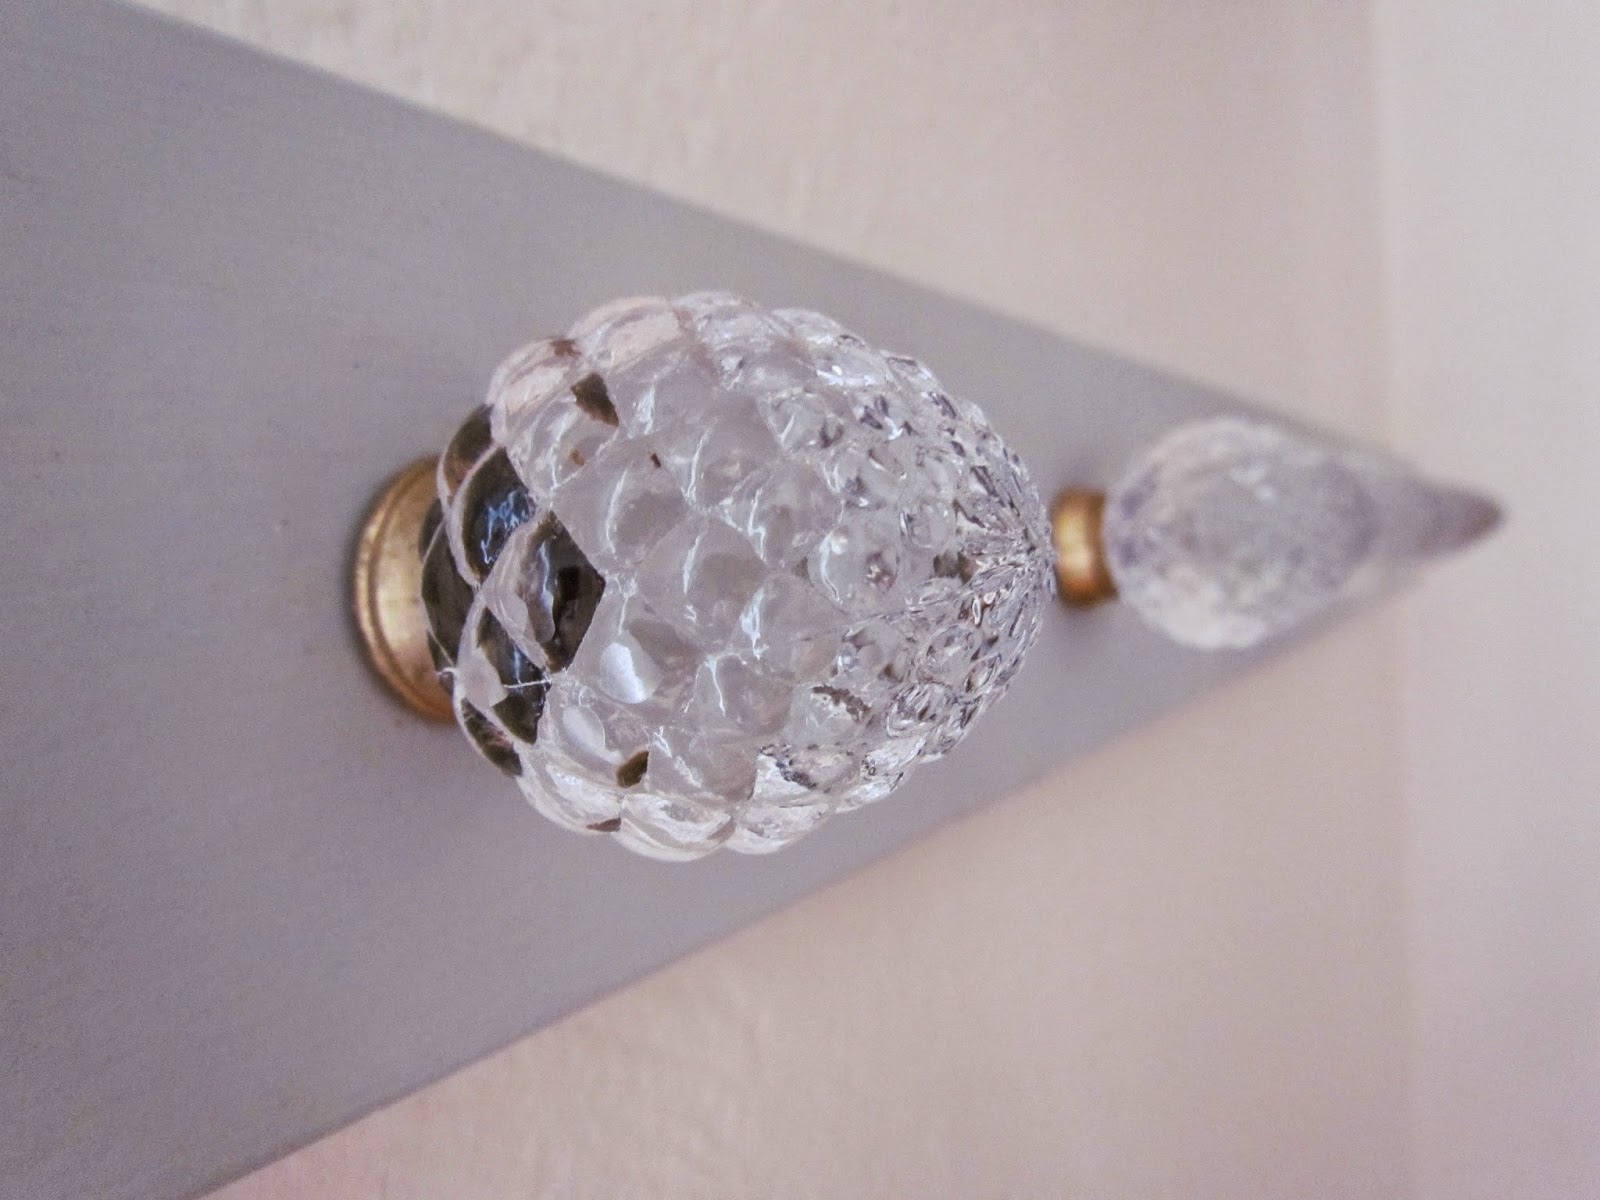
I've (also) had these knobs for a while, waiting for the perfect spot. I originally thought they'd go on a dresser drawer revival. I picked them up when a nearby Pier1 was doing a remodeling sale, so they were $0.80 each! SCORE. Cody cut a three foot long 1x4 and I painted it with Dusty Miller by Glidden. 


Once dried, Cody jumped right into helping me calculate the ideal spacing, we settled on six knobs, 3" apart. He made perfectly pre-drilled holes for the knobs and halfway drilled the back for flush sitting washers. I'm sure there's more technical terms for this, but it never occurred to me that the washer would impede on a nice flush mount to the wall.  Once everything was secure, he snipped off the excess length of each knob and leveled it out on the wall. He even filled the screw heads holding it to the wall with wood putty & touched up the paint. Lucky girl right here. We hung it at 5' off the floor. High enough for his jackets, but also low enough for (eventual) art hanging above. 


I usually choose brushed nickel for hardware finishes, but I might let this little bit of brass slide under the radar. For now, I'm really loving our more functional entryway! 


And then there's this little guy.. It was a floor/wall heater. We never used it or connected it underneath the house, so it was (fairly) easy to pull out. Just big and bulky and awkward. So now we have sheetrock and hardwood floor patching to keep us busy this weekend. All in all, it just feels so good to be working on the house together so I can handle empty walls and a jerry-rigged plywood floor! Luke thinks his new little passageway is pretty fun though, we might just keep it open as a kiddie door. Joking. It's blocked off with dining chairs :) 


Monday, May 19, 2014

Family Room Revival!

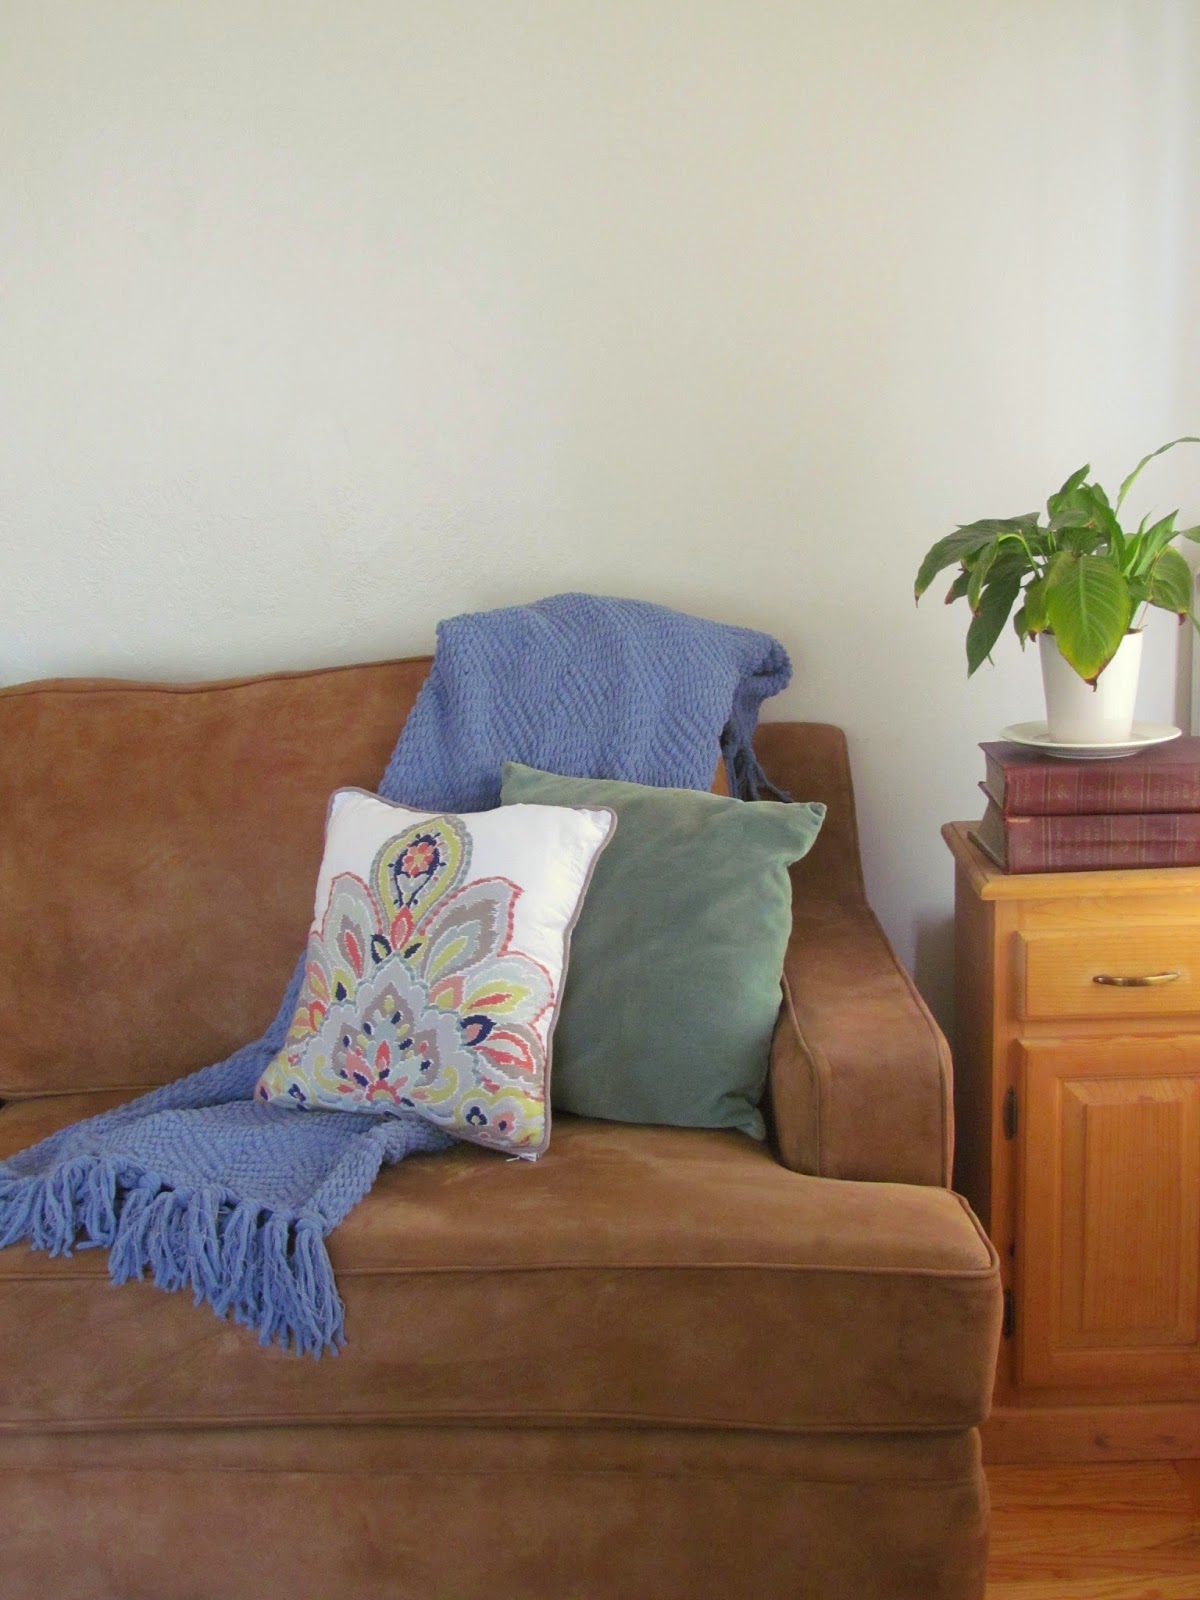
SO EXCITED TO HAVE UPDATED OUR COUCH! 

Its no secret that our sectional had done its time (and then some). We had gotten to the point of stuffing beach towels in the cushions and I usually preferred to sit on the floor. But couches are expensive! We have been hunting for a while, as we just don't have the ability to throw down a couple thousand (or even one thousand) dollars on furniture. I've been visiting lots of 'Closing Forever' furniture store sales and researching other budgeted options. After scouring Craigslist for weeks if not months, hundreds of inquiry emails and a handful of hiccups along the way...we finally found a set. A really nice set. For $275! A really sweet woman had these in storage, hardly used. She just needed them gone. I fired off an email, without much hope. And after a couple exchanges, they became ours!


I knew couches would be a great upgrade, but WOW. I can't get over how much more cozy and pulled together my family room is looking right now! I still need to paint, figure out lighting and a few other laundry list items. But those are all little things that I can confidently pursue now that the big elephant in the room is taken care of!

Since they had been in storage, the couches needed a good cleaning. I researched what to do with microfiber, even though we had microfiber before, I was nervous to ruin my amazing furniture find. I found this link to be especially helpful!! I washed the cushion covers with Woolite, cold water and on gentle cycle. A brief low heat tumble dry (about 10 minutes) and let them hang dry overnight. No shrinkage! The rest of the couch was vacuumed and sprayed/scrubbed down with rubbing alcohol & a white rag. 


Thursday, May 15, 2014

Hanging Planter DIY

I'm currently on a serious yard sprucing kick. All I want is flowers, flowers, flowers! I picked up a strainer (food cover?) at the thrift store last week for $0.60 and knew it would be the perfect hanging planter. I think it may actually be a food cover because there was a ring on the top. But its made of sturdy wire mesh like that of a strainer. Dual triple  purpose. 

From here I gathered:
Burlap, two squares cut a few inches larger than the rim of the bowl (good thing I have a stash!)
Chain link ($0.63/foot at Home Depot!)
Dirt
Flowers ($2.70/6pack)
Eyehook

I wasn't sure if the burlap was going to do the job of being a proper liner, but so far its working great! Cody held the bowl up at different levels to determine how long to cut the chain (I went way overboard and bought 8ft!). Using needle-nose pliers, we made three equal length chains and spaced them out around the rim of the bowl. The ring that was a handle on the outer top of the bowl became the connector for all three chains. One eyehook screwed into our porch beam holds the entire thing!


I planted impatients becuase it will always be in the shade. For $8.34 I have a cheery little splash of color on the porch, I can see it from our dining table too! I could have chopped that price in half if I had measured how much chain I actually needed beforehand too. But honestly I hope to find another similar piece to hang and then it'll all be justified!


Tuesday, April 22, 2014

Chalk Paint

As in chalk for writing on the chalkboard, not paint to make a chalkboard. A friend pinned this link and it was just perfect timing for me! My lettering skills are not up to Pinterest par, so I my excitement was halted in using our new chalkboard, but this method made it all so do-able! 

Three steps: crush a stick of chalk, add water, brush on! Add enough water so it will easily brush on, but not so much that it becomes runny! One piece of chalk goes a long way.


Does it get any easier?! It dries much darker than when first brushed, so let it do its thing before applying a second coat. The finer you crush the chalk the better too. Cody, after his infamous eyebrow raise when I explain my latest idea, really enjoyed crushing chalk with one of his dumbbells. He thankfully did so in the garage on a cookie sheet, because chalk dust everywhere would have been a hard one for me to overcome. He knows me so well! We also found this concoction works just as well for finger painting on the chalkboard. 
Hope you all had a wonderful Easter!!


Thursday, April 10, 2014

Chalkboard Kitchen Door

It's taken a much longer time than I anticipated to roll up our sleeves and dig into adding our own touches to our home. During the home shopping/buying process I picked out color schemes and pinned furniture and layout options to no end. But now here we are nearly two years into home ownership and the bare bones of our home are largely the same as the day we moved in. I don't mean to downplay what we have done: exterior painting, bathroom painting/hardware, and the complete overhaul of Luke's room. Only noticing our trend, our method. Certainly, the financial cost of renovating is a large factor. But I am realizing that even with an unlimited budget, we're just slow movers in our home decisions. As much as my personality is to 'go-go-go', I also have too many ideas and likes and options and daydreams to really make a decision. Meanwhile, Cody is a fully creative man on his own and has lots of ideas too! We could stay up all night talking about landscaping options for the yards and still have confused direction. There are many promises to just sleep on our ideas and wait to see which ones simmer their way to the top as our front runners. There are many days when I get frustrated with our slow approach. I want the dream house now, please! But that's life. And I remind myself that its taken my parents nearly twenty years to remodel their home, and I'm just barely approaching two. 

And further in my mind wanderings, I wonder how much of my personal style is really my style and how much is dictated by whats available on the clearance rack. Realistically, everyone has a budget and even millionaires can't buy the sun and the stars. But I do wonder. At the same time, there is a constant battle within me between Southwestern Hippie and All-American Preppy, style speaking. So I doubt having a larger budget would really get me too far anyhow. I do believe that taking our time has allowed our house to show us what it needs. And I don't just mean upgrading our shower drain for proper drainage! But to see how we live in it, and how that's changed so much already with little Lukester. 

All of this to say, I finally chalkboard painted. I've admired all the glorious blogs and Pinterest boards full of chalkboard wall and door accents. I finally found the spot that felt perfect for me. It took me a while, a long while. But I've done it. And I love it. And I thought long enough about it, mentally listing all the pros and cons (overkill, I know), to be sure I won't regret it!


It took four coats to get full coverage on our white door. Now I'm just waiting and watching for 24 hours for the curing! Really excited for all the fun things we can write on it: menus, holiday messages, prayer/praise requests, etc. And you can count on Cody for coming up with some off-the wall ideas for it too. So far I think I have convinced him otherwise on journaling his many semi-permanent splinters. We may not have the biggest renovation budget but at least we have our humor, right?!


Wednesday, January 15, 2014

DIY Crib Mobile

I think this should wrap up all the details on Luke's room! I picked up these mushroom ornaments from Target during their after-Christmas clearance blowout last year. Well, two years ago now (2011)! I knew we would be trying for kiddos soon and I thought they might come in handy! At the time I was totally obsessed with the woodland themed nursery style, and the colors were perfect for a boy or girl. Fast forward nine months and I didn't go with the woodland theme but the colors still fit into Luke's room. 

Gather:
5+ cutesy things to hang
Embroidery hoop
Fishing line
Ribbon
String
Hot glue gun
Needle


Not a super scientific list, but I had stashed a few odds & ends that I thought might be useful for this project. First I wrapped the embroidery hoop with ribbon (the hemp ribbon was actually the tie that kept the area rug in Luke's room rolled up!) and secured the ends with hot glue. Next I used the white and red string (which was from the packaging of Luke's baby quilt!) to make a grid shape inside the hoop for hanging the mushroom ornaments. And finally, I cut several lengths of fishing line and played around with the arrangement til I found one I liked best! To attach the fishing line to the ornaments, I fed it through a needle and stitched right through the top of the stuffed mushroom cap.

I also used fishing line to hang the mobile from the ceiling. Cody screwed an eye hook into the sheetrock for the line to hang off of. The trickiest part was getting the hoop to hang evenly, we wrapped four strings of fishing line at 'four corners' of the circle (yes I know circles don't have corners!) and tied a knot further up towards the ceiling. I think it may be a tad low, so we will make some adjustments when Luke gets strong enough to stand up. Which, scarily, seems like its not so far off!


Wednesday, January 8, 2014

First Christmas Ornament DIY

I posted this on Facebook a couple weeks ago, but in case you missed it here it is again! We originally wanted to get a hand print of Luke's for his first Christmas ornament, but the little guy likes his fists. So we went with the foot instead. I picked up this plastic squashed circle sort of shape of an ornament at Michael's for $1.49 and all-purpose craft paint by Martha Stewart in gold shimmer. It took a handful of practice foot stamping and we settled on this one! 


Once it dried I slipped in our hospital bracelets and shook it all around til they fell in a pretty tangle. Debating adding a little something else to it, I feel like it needs a monogram. But I pretty much think everything needs a monogram so I'm going to sit on that thought and see before I go crazy adding "L" to everything in sight!

Glass ornaments are prettier by far but I had mommy nightmares over future three year old Luke running around the house with his ornament and crashing and cracking his precious footprint ornament. And injuring himself too. But how devastating to potentially lose that footprint! I am prepared for Luke to have lots of boo-boos. I mean he's a boy for one, and he comes from a long line of bruisers on both sides. I am the only one out of my husband & brothers who hasn't had the pleasure of an ambulance ride. It's just in the genes. I'm surrounded by adrenaline junkies!


Wednesday, December 18, 2013

DIY Laundry Hamper

I stumbled across this wire basket of sorts at the Goodwill and thought with the proper lining it would make the perfect hamper for Luke's room. The basket set me back $3.50 and then it was just waiting to find the perfect fabric. That happened to be a month or so later at my local HOPE store. And the fabric turned out to be a king sized pillowcases. Talk about an easy project!!


I had red and blue striped ribbon already on hand (thank you Michael's dollar bin). All it took was snipping the pillowcase to make four 'corners', threading the ribbon through and tying off to the wire basket rim. The pillowcase came in a set of three (typical thrift store style!). But this way I can untie the entire lining pocket and throw everything into the wash at once. Just another sucess story to encourage you to keep your eyes open and shop ahead at your local thrift stores. This entire project cost $8. You really never know how perfect a cast off item will turn out to be for your home. Although, I walk a fine line (and often fall off of) between buying smart and straight hoarding. Fortunately thrift store pricing is quite affordable, so if the item turns out to be a dust collector its no big deal to just donate it right back. Now that's some real community service for ya! ;)


Friday, December 13, 2013

Luke's Room: A Bold Boy Nursery

Thought you all would like to see a tour of Luke's nursery! I had a lot of fun (& luck!) finding bits & pieces to complete his room. As I mentioned before, the baby blue vibe just wasn't exciting me, so I went with bold colors, mainly blue and red. The rug was my jumping off point, and I almost lost it. Found the last one in the bay area in Antioch! Thank goodness Cody was working up there at the time :)


Where we got what:

Crib: hand-me-down ($0!)
Rug: World Market ($20 clearance score!)
Dresser: Craigslist ($20)
Rocking Chair: Already owned ($0)
Child-size Rocking Chair: Gift 
White & Wooden Picture Frames: Ikea ($9) 
Art: free printables & personal photos ($0)
(SF logo & Luke's nameplate handmade by Uncle Christian!)
Touchdown Canvas: Marshall's ($30)
Crib Bedding: Target & Etsy (all gifted)
Crochet Throw blanket: DIY'd (tutorial here)
Rocking chair throw: Ikea ($20)
Crib Mobile: DIY'd (Tutorial here) ($4)
 Book racks: spice racks from Ikea ($12)
Curtains: thrifted ($7)
Birth Stats Pillow: Gift (Shop link here)
Basket, toys & books: Gifts 
Shelves & Coat Rack: thrifted ($4.50)
Hamper: DIY'd (tutorial here thrifted supplies $8)
Canvas bins: Ross ($11)
Paint: Sharkey Gray by Martha Stewart ($48)
Trim, Baseboard, Electrical Covers: $65

Total: $238.50

Cody also insulated the walls & installed a new double-pane window ($325, Milgard brand). Luke's room is now the most energy efficient in the house! We would still like to tinker around with the closet, the track is bent so the doors will never slide quite right as is. We are also planning to replace the ceiling fan and add more shelving in the corner between his dresser and crib. But we are super happy with how it all turned out! We didn't really set a budget for the room, it was more 'find things we like and spend as little as possible'! All of these purchases were made over the course of my pregnancy (ok so I had secretly stored a couple items before getting preggo!). Picking up just the right things over nine+ months was also crucial in keeping his room very affordable! And I loved the thrill of the hunt and ended up with lots of thrifted and handmade items to fit my vision! I also can't overlook the generosity we received in gifts and hand-me-downs either! Did I mention Luke is the best dressed kid I've ever seen?? 
Luke seems to love it all too :)